How-to: Add Personalised Signature to Zoho Desk
 How to add my signature in tickets?

How to add my signature in tickets?
You can add your custom signature in the reply emails sent from Zoho Desk, and get connected with your customers in real time. The signatures can be added either department-wise or commonly for all departments.
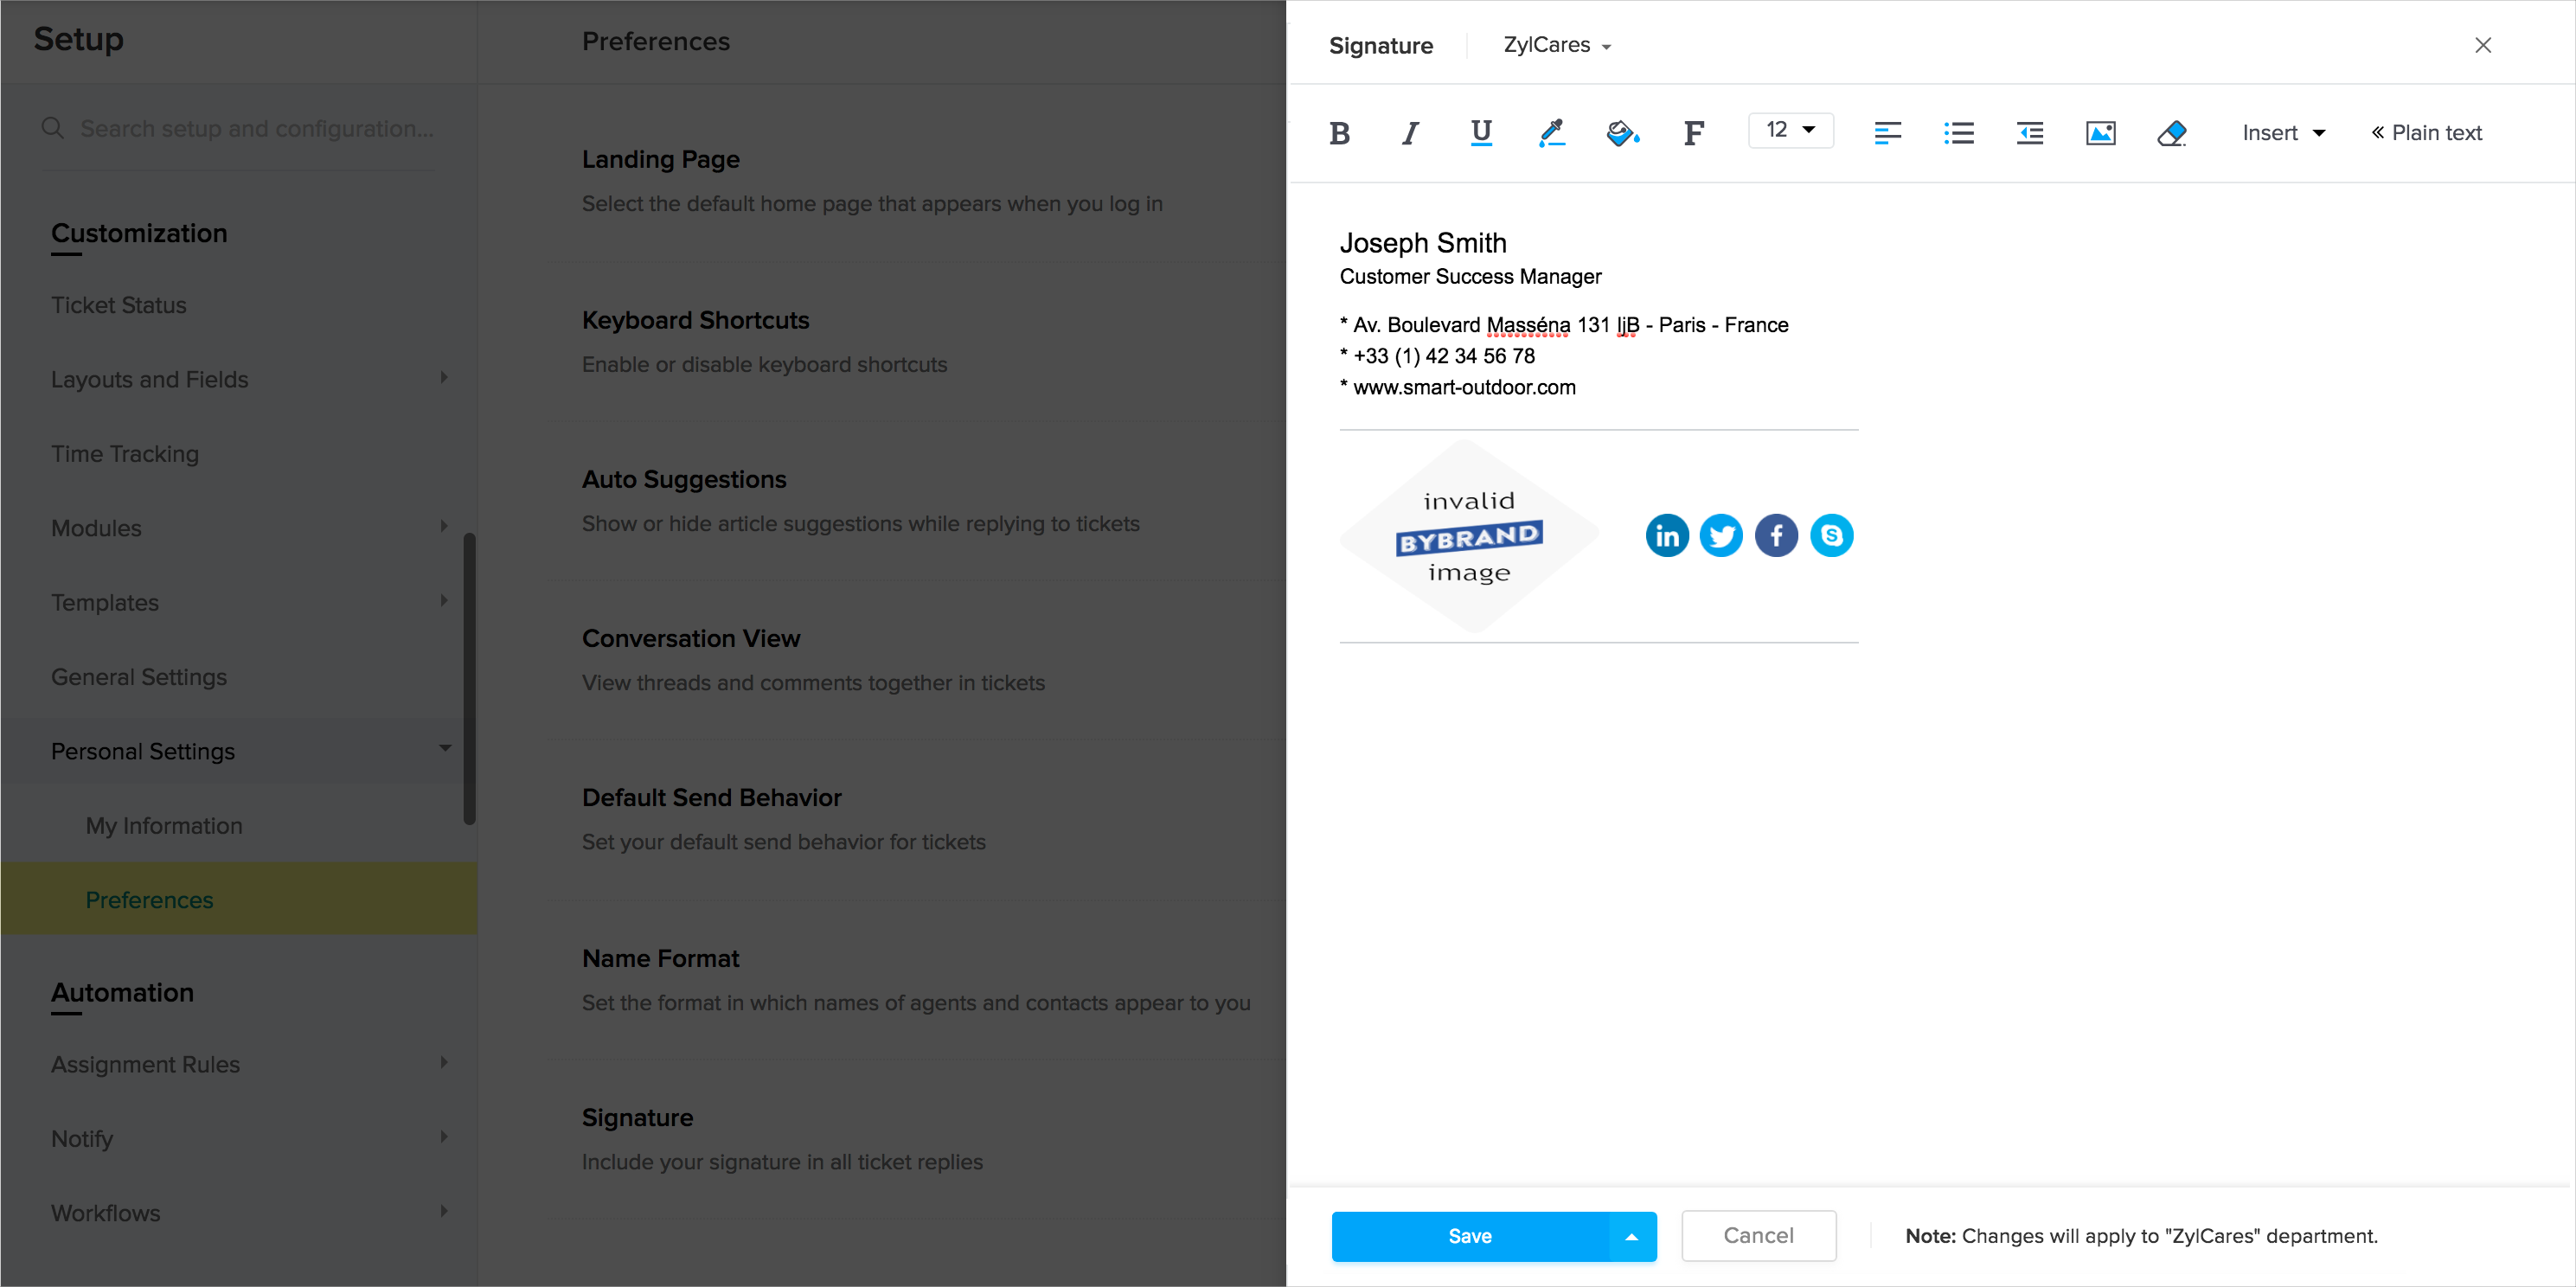
To add an email signature, follow the steps mentioned below:
- Click the Setup icon (
) in the top pane.
- Click Personal Settings under the Customization menu.
- Click Preferences under the Personal Settings sub-menu.
- On the Preferences page, click Add Signature.
- Select the department for which you wish to add the signature.
- Specify the signature in the HTML editor.
- Click the Insert icon (
) within the editor, to upload a logo.
- Click Save.
Note: Apply the custom signature to all departments by selecting the drop-up arrow on the Save button. - Click Save again, to confirm your action.
Related Articles
How-to: Enable/disable Automatic Spam Detection on Zoho Desk
You can learn below how Automatic Spam Detection works and also how to enable and disable it in Zoho Desk: From: https://help.zoho.com/portal/en/kb/desk/for-administrators/customization/articles/managing-spam-detection-settingsHow-to Close Announcement Banners on Zoho Desk
To permanently close it, you should follow the instructions on it, for example, the banner below that was announcing the new Skill-based feature the solution would be: Go to Settings ==> Automations ==> Skills Then, the system will notice that you've ...